You’re scrolling through your phone and see a photo of yourself from last weekend. The lighting is great, your hair looks perfect, but your smile seems… a little dull. It’s those morning coffees, the occasional glass of red wine, or maybe just the passage of time. You immediately start thinking about a professional whitening treatment, but the price tag at the dentist’s office makes you wince.
This is the moment millions of people face every year. The desire for a brighter smile is universal, but the cost and time commitment of professional treatments can be prohibitive. The solution for many? The best at-home teeth whitening kits.
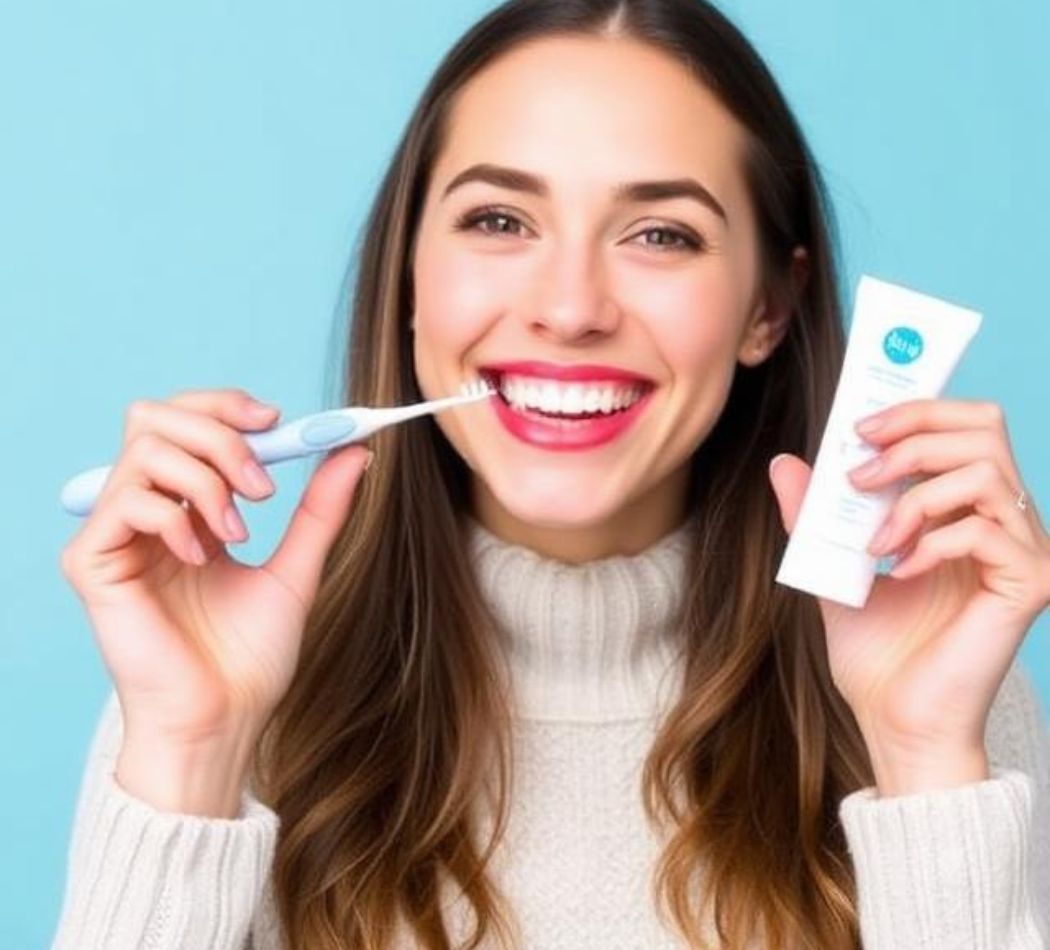
Gone are the days of messy, ineffective home remedies. Today’s market is flooded with dentist-approved, easy-to-use kits that deliver remarkable results. Let’s cut through the noise and find the perfect path to a brighter, more confident you.
The Science of a Whiter Smile
Before we dive into the best products, it helps to understand what we’re dealing with.
Why Do Teeth Lose Their Luster?
Stains come in two primary forms: extrinsic and intrinsic.
-
Extrinsic Stains: These are surface-level stains caused by what you consume. Coffee, tea, red wine, and dark sodas contain chromogens and tannins that cling to your enamel. These are the easiest to remove.
-
Intrinsic Stains: These occur deeper within the tooth’s structure. They can be caused by aging (as enamel thins, the yellowish dentin beneath shows through), certain medications, or trauma to the tooth.
The Ingredients That Really Work
Almost every legitimate at-home teeth whitening kit relies on a variation of the same active ingredients: hydrogen peroxide or carbamide peroxide.
Here’s how they work: the peroxide breaks down into molecules that penetrate the porous enamel and react with the stain molecules, breaking their chemical bonds and making the stained particles smaller and less visible.
A good analogy is thinking of these stains as a vivid red dye on a white shirt. The peroxide is like a highly targeted bleach that neutralizes the dye molecule itself, rather than just scrubbing the surface.
-
Hydrogen Peroxide: This is the most common active ingredient. It works quickly and is highly effective.
-
Carbamide Peroxide: This breaks down into hydrogen peroxide and urea when applied to the teeth. It’s generally considered a “slow-release” option, which can be gentler and cause less sensitivity.
The concentration matters. Over-the-counter (OTC) products legally have lower concentrations than what you’d get in a dentist’s office, making them safer for unsupervised use but requiring a bit more time for results.
The 2026 Smile Arsenal: Comparing the Best Types of Whitening Kits
Choosing the best at-home teeth whitening kit depends largely on your lifestyle, budget, and sensitivity levels. Here’s a breakdown of the main types dominating the market.
Whitening Strips: The Gold Standard
Best for: Beginners, budget-conscious users, and those who prefer a set-it-and-forget-it treatment.
Whitening strips are thin, flexible pieces of plastic coated with a peroxide-based gel. You press them onto your teeth and leave them for the recommended time.
Why they’re a top choice: Crest 3D Whitestrips are practically synonymous with at-home whitening. They are the #1 dentist-recommended at-home whitening brand and many boast the American Dental Association’s (ADA) Seal of Acceptance . For example, Crest 3D Whitestrips Glamorous White or Classic Vivid require just one 30-45 minute application a day for 10-14 days to deliver noticeable results.
Pros:
-
Very effective and affordable.
-
Easy to apply and integrate into a daily routine.
-
Widely available and backed by decades of consumer trust.
-
Options available for sensitive teeth.
Cons:
-
Can be tricky to apply perfectly, potentially missing some areas.
-
The long wear time (30-45 minutes) can be cumbersome for some.
LED Whitening Kits: The Speedy Solution
Best for: People who want faster results and are willing to use a gadget.
LED kits combine a peroxide gel with a mouthpiece that emits violet or blue light. The light is intended to accelerate the chemical reaction of the peroxide, leading to quicker whitening sessions.
What to know: While the LED light can provide a “modest acceleration” to the process, the primary whitening agent is still the peroxide. The Colgate Optic White ComfortFit is a standout in this category. The treatment takes just 10 minutes daily for 10 days, and maintenance is only required four times a year.
Pros:
-
Very fast treatment times.
-
High-tech feel.
-
Often includes serums that can reach tricky spots.
Cons:
-
Usually more expensive than strips.
-
Some devices are tethered to a smartphone or have bulky cords.
Whitening Gels & Serums: Precision & Power
Best for: Touch-ups, people with dental work, and those who want to target specific teeth.
Gels and serums are applied directly to the teeth with a brush or specialized applicator. This allows for precise application, ensuring you don’t get gel on your gums.
A top pick: The Crest Daily Whitening Serum was a SELF Healthy Beauty Award winner. Its tester noted that it was “unobtrusive and impactful,” even working to blend in a darker dental chip with the rest of the tooth. Another option in this category is the Colgate Optic White Overnight Pen, which uses a quick-drying gel to whiten while you sleep.
Pros:
-
Great for hard-to-reach areas.
-
Perfect for maintaining results between more intensive treatments.
-
Often no rinsing required.
Cons:
-
Requires more deliberate application than strips.
-
May need to be used more frequently for noticeable results.
Whitening Trays: Professional Strength at Home
Best for: Those who want a custom-feel and are willing to handle stronger gels.
At-home trays come pre-filled with a higher-concentration whitening gel, like 12.5% hydrogen peroxide, which can lead to faster, more dramatic results. A leading product in this space is Opalescence Go, which uses pre-filled, disposable trays that conform to your smile.
A word of caution: Higher concentrations mean a higher risk of gum irritation and tooth sensitivity. Careful placement is crucial, and it’s essential to wipe away any excess gel that touches your gums.
Pros:
-
Faster and more powerful results.
-
Good coverage across all teeth.
-
Can be purchased from a dentist for a professional-grade experience at home.
Cons:
-
Higher risk of side effects like sensitivity.
-
Premade trays might not fit all mouths perfectly.
| Feature | Strips | LED Kits | Gels/Serums | Trays |
|---|---|---|---|---|
| Best For | Beginners, budget | Speed, tech-lovers | Touch-ups, precision | Power, fast results |
| Active Ingredient | Hydrogen Peroxide | Hydrogen/Carbamide Peroxide | Hydrogen Peroxide | High-concentration Hydrogen Peroxide |
| Treatment Time | 30-45 min/day | 10 min/day | 30 min – overnight | 15-20 min/day |
| Risk of Sensitivity | Low-Medium | Low-Medium | Low | Medium-High |
| Price | $ | $$-$$$ | $ | $$ |
How to Use Your Kit for Maximum Results (and Minimum Pain)
Whichever product you choose, the process is similar and requires a bit of know-how.
Step-by-Step Best Practices
-
Start with a Clean Slate: Always brush and floss your teeth before whitening. You want the product to penetrate the stain, not a layer of plaque.
-
Be Prepared for a Little Drama: If you’re using strips, expect your teeth to feel a little slippery. For gels, use a tissue to dry your teeth. This helps the product stick better.
-
Protect Your Gums: The peroxide can irritate soft tissue. If gel touches your gums, wipe it off immediately. For strips, press them firmly against your teeth to minimize contact with the gum line.
-
Follow the Timer: It’s tempting to leave the product on longer for “extra” whitening. Don’t. This is the number one cause of sensitivity and enamel damage.
-
Rinse and (Don’t) Brush: Most products recommend rinsing or brushing gently after treatment. Avoid brushing immediately before application, as it can cause gum irritation.
The Elephant in the Room: Sensitivity and How to Tame It
Tooth sensitivity is the most common side effect of whitening. It usually feels like a sharp, sudden pain or a dull ache in response to cold or hot stimuli.
Think of it like this: your enamel is a protective shield. Peroxide-based products work by temporarily opening the microscopic pores in the enamel to reach the stains. This can expose the nerves in the dentin to temperature changes, causing sensitivity.
Strategies to Minimize Discomfort
-
Start Slow: Look for “sensitive” formulas with lower concentrations of peroxide or added ingredients like potassium nitrate to soothe nerves.
-
Space Out Treatments: If you experience sensitivity, don’t stop, just pause for 2-3 days, then resume.
-
Use a Sensitivity Toothpaste: A week before you start whitening, switch to a toothpaste for sensitive teeth. The ingredients help build a protective barrier over the nerves.
-
Avoid Trigger Foods: During and immediately after your whitening cycle, try to avoid extreme temperatures (hot coffee, ice water) and acidic foods.
Debunking Myths and Setting Realistic Expectations
-
Myth: Whitening works on all teeth. Fact: At-home kits only work on natural teeth. They will not whiten caps, crowns, veneers, or fillings. They are also less effective on gray-toned stains compared to yellow-toned ones.
-
Myth: The higher the peroxide, the better. Fact: More isn’t always better. Higher concentrations are faster but come with a significantly higher risk of sensitivity and gum damage.
-
Myth: Results last forever. Fact: The longevity of your results depends entirely on your habits. While the initial treatment might take 10-20 days, maintaining the results requires occasional touch-ups and a good oral hygiene routine. Results can last from a few months up to a year.
The Future of Smile Care: What’s Next?
As we look ahead in 2026, the trend is moving toward personalization. We’re seeing more sophisticated LED devices paired with gels that include remineralizing agents to protect enamel. There’s also a surge in “peroxide-free” alternatives like Lumineux, which use a blend of Dead Sea salt and coconut oil to whiten without the burn. While these may be gentler, they often take longer to show results.
The ultimate takeaway is that the best at-home teeth whitening kit is the one that fits your life, respects your sensitivity level, and fits within your budget.
Quick Summary & Key Takeaways
-
Understand Your Stain: Surface stains (from coffee/wine) are easier to remove than intrinsic stains (from age or medication).
-
Know Your Main Ingredient: Hydrogen peroxide is the industry standard for effective whitening.
-
Choose Your Weapon: Strips are the classic, reliable option. LED kits are faster. Gels are great for touch-ups. Trays offer high power.
-
Prevent Sensitivity: Start with clean teeth, protect your gums, and don’t exceed the recommended treatment time.
-
Be Realistic: Remember, it won’t whiten crowns or veneers, and your results will fade if you don’t maintain them.
Frequently Asked Questions (FAQs)
Q: How often should I use an at-home whitening kit?
A: For your initial cycle, follow the directions on the box (often once a day for 10-14 days). For maintenance, you can touch up once a week or as needed to keep your smile bright.
Q: Are teeth whitening kits safe for everyone?
A: Generally, yes. However, you should consult your dentist if you have thin enamel, gum disease, cavities, or if you have dental work like crowns or veneers. They are not recommended for children under 12.
Q: How can I make my results last longer?
A: Limit your intake of stain-causing foods and drinks (coffee, tea, red wine). Rinse your mouth with water after consuming them, and practice good oral hygiene like brushing twice a day with a fluoride toothpaste and flossing.
Q: What if I don’t see any results?
A: Some people have deeper or more stubborn stains. If you don’t see results after a full box, you may need a second box for your desired effect. If you’re still not satisfied, many reputable brands, like Crest, have a satisfaction guarantee.
Q: Can I use whitening strips on my bottom teeth only?
A: Yes. While most kits include strips for both arches, you can use them on any natural teeth you wish to whiten. The strips are sized for top and bottom rows respectively.
Sources
-
Self, “Our Favorite Teeth Whitening Kits for a Brighter Smile”
-
Crest, “Crest 3DWhitestrips Noticeably White At-home Teeth Whitening Kit”
-
Men’s Health, “6 At-Home Teeth-Whitening Kits Worth Your Money”
-
Crest, “Crest 3DWhitestrips Classic Vivid At-home Teeth Whitening Kit”
-
Colgate, “How to safely use whitening gel at home”
-
Good Housekeeping, “The best teeth whitening kits for a brighter smile, tested by 370 people”
-
Colgate, “How Teeth Whitening Kits Create Brighter Smiles”
-
Colgate, “How to Whiten Teeth – Three Basic Methods”
-
The Cut, “The Best At-Home Teeth-Whitening Kits, According to Experts”
-
CVS, “Teeth whitening kits: Discover at-home solutions”